Make: Noteboard

Receipt paper is our Reuse & [Re]Think material of the month, and we think it’s fabulous! Follow this tutorial, created by our Program Coordinator, Molly, to see how she reimagined a roll of it along with various other materials that can be found in our center. Talk about putting the fun in functional!
Materials to gather:

receipt paper roll
wood board
magnetic metal samples
cork
string/twine
hot glue gun & glue
scissors
push pins
magnets
saw-tooth hanger + hardware or
staple gun
Instructions:
1. Determine where you would like your metal samples to go and how much space you have for cork. I had a 3" wide by 9" high space for cork.

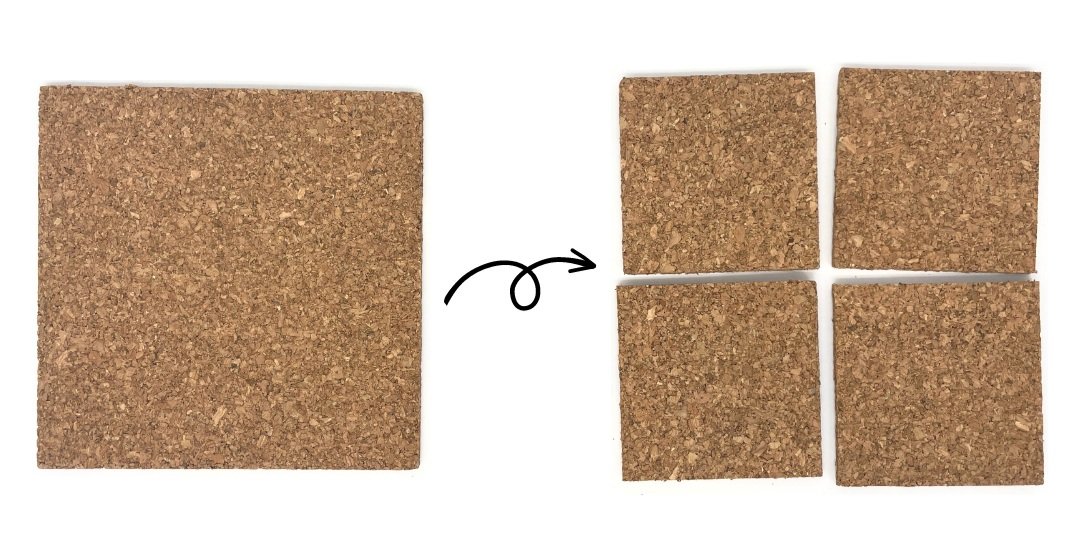
2. Cut your cork into your desired size. For thickness, your cork should be thin enough to cut, but thick enough to use with push pins. I made 3" wide by 3" high squares.
3. Once you're happy with your layout, use hot glue to attach the metal and cork to your wooden board.

4. Run string through the receipt roll and tie behind the board. To keep the roll from falling, I took advantage of the gaps between panels. You could use hot glue on the back of your board too.

5. To the back, attach a saw-tooth picture hanger or staple your extra rope to create a hanger, like below. Tip: I found this board with both hangers already attached in the craft wood section, in the 'plaques and flat signs' bins!

6. Ta-da! Attach your magnets and pushpins and start making notes!
