Make: Forever Calendar

Have an old photo album or scrapbook laying around? Follow this tutorial, created by our Program Coordinator, Molly, to repurpose it into a calendar that you can reuse year, after year, after year...forever!
Tip: use a dry-erase marker on the sheet protectors if you want your writing to easily rub off. If you prefer something semi-permanent, use a wet-erase marker. As their name implies, they’re erasable with a wet rag or most whiteboard cleaning products.
Materials to gather:
(1) photo album with 3 rings
(12 pc) scrapbook paper or paper imagery
(6 pc) lined paper
(12 pc) plain paper or dividers
(13) sheet protectors
(2) binder clips
(2 feet) string or twine
sharpie
scissors
glue
ruler
dry/wet-erase marker

Instructions:
1. Cut your 12 pieces of scrapbook paper or paper imagery to fit into the 8.5” x 11” page protectors.

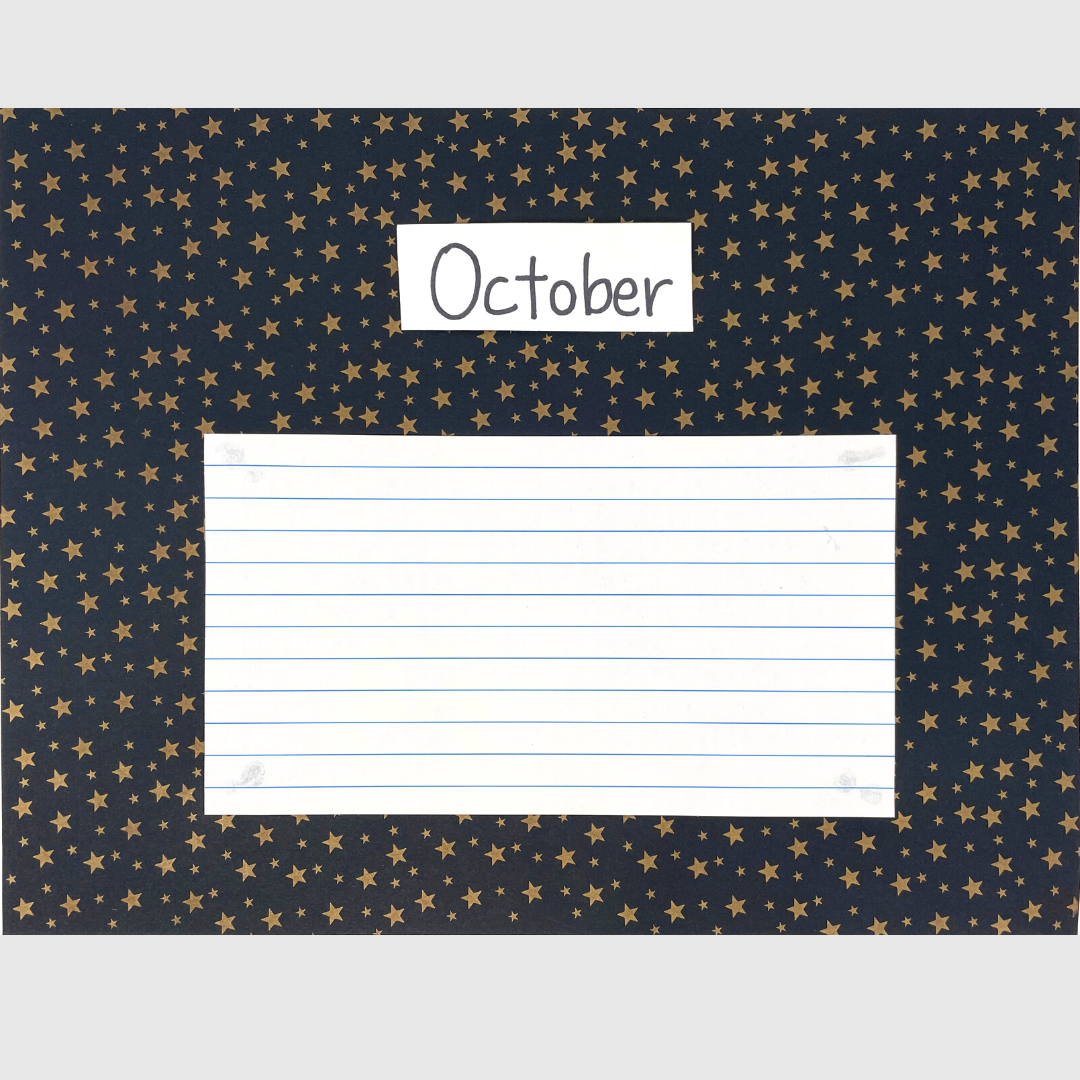
2. Cut lined paper into desired size (I did 4" x 7"). this will be a place to write notes each month, so you can make it any size you want, or leave it out!

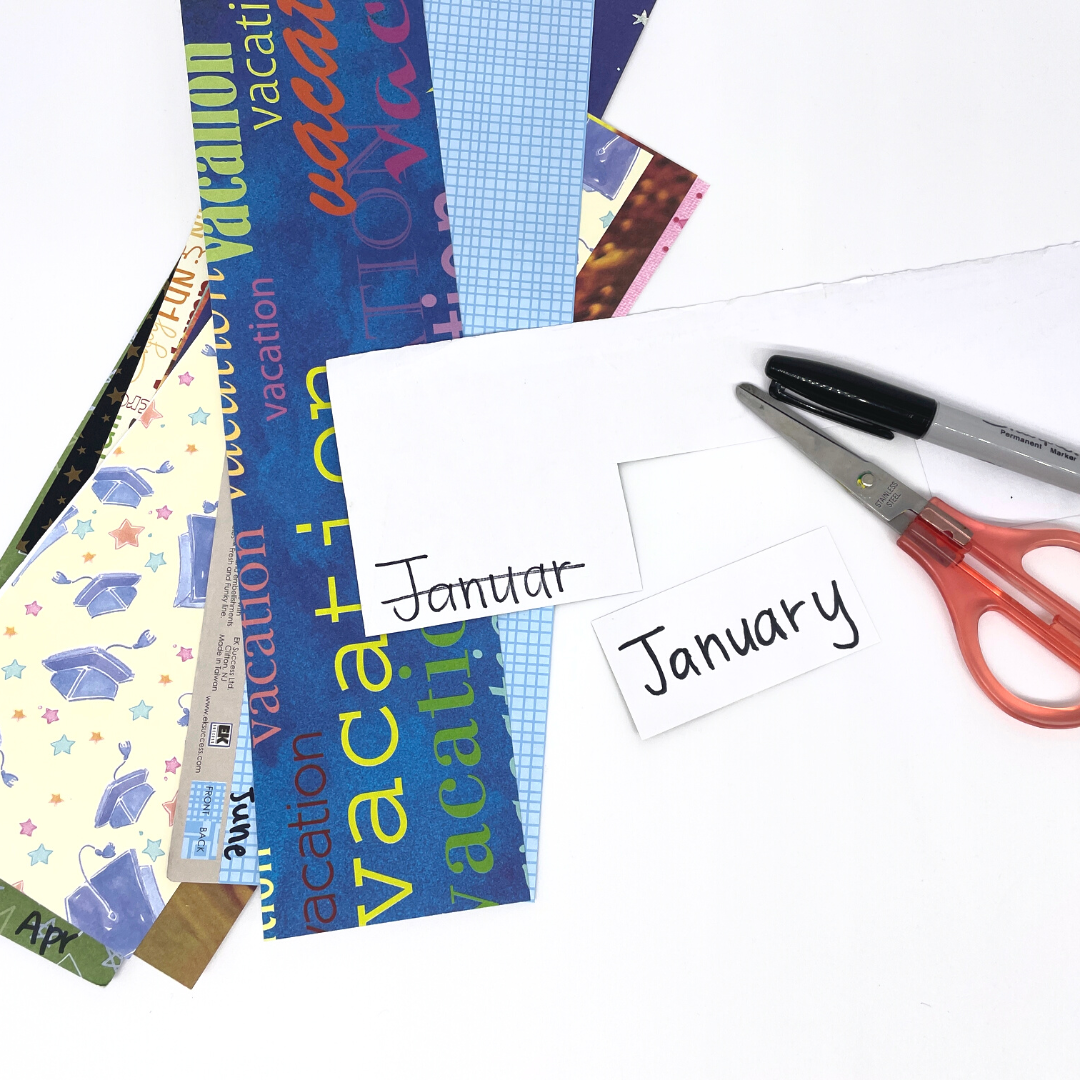
3. Use your paper scraps to write out each month. Make them as simple or fancy as you want!
4. Lightly glue a single month name and lined paper to each piece of your decorative paper. This doesn't have to be heavily glued, since it will be in a protective sleeve.
5. Cut your tab dividers or plain colored paper and draw gridlines according to the dimensions shown. Write out the days of the week at the top of the page.

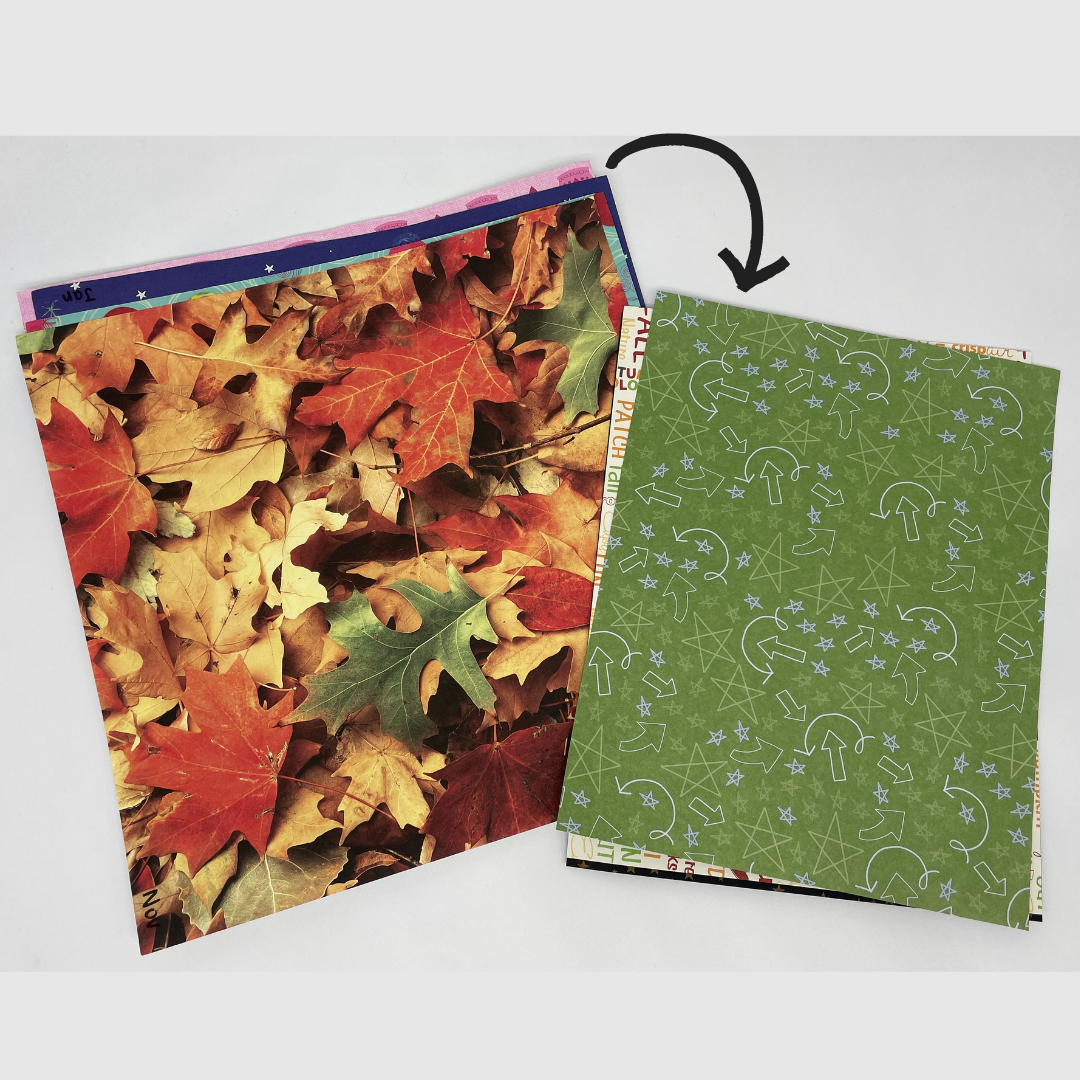
6. Lightly glue the calendar page to the back of a decorative page. Before glueing, make sure you orient it correctly by flipping it on the long side!

7. Insert all fully assembled months into protective sleeves, then place into the rings of the photo album in the correct order.

8. Use binder clips to hold each month's decorative notes page up. tie string or twine to the clip tabs to hang your forever calendar!

