Make: Sewing Buddy
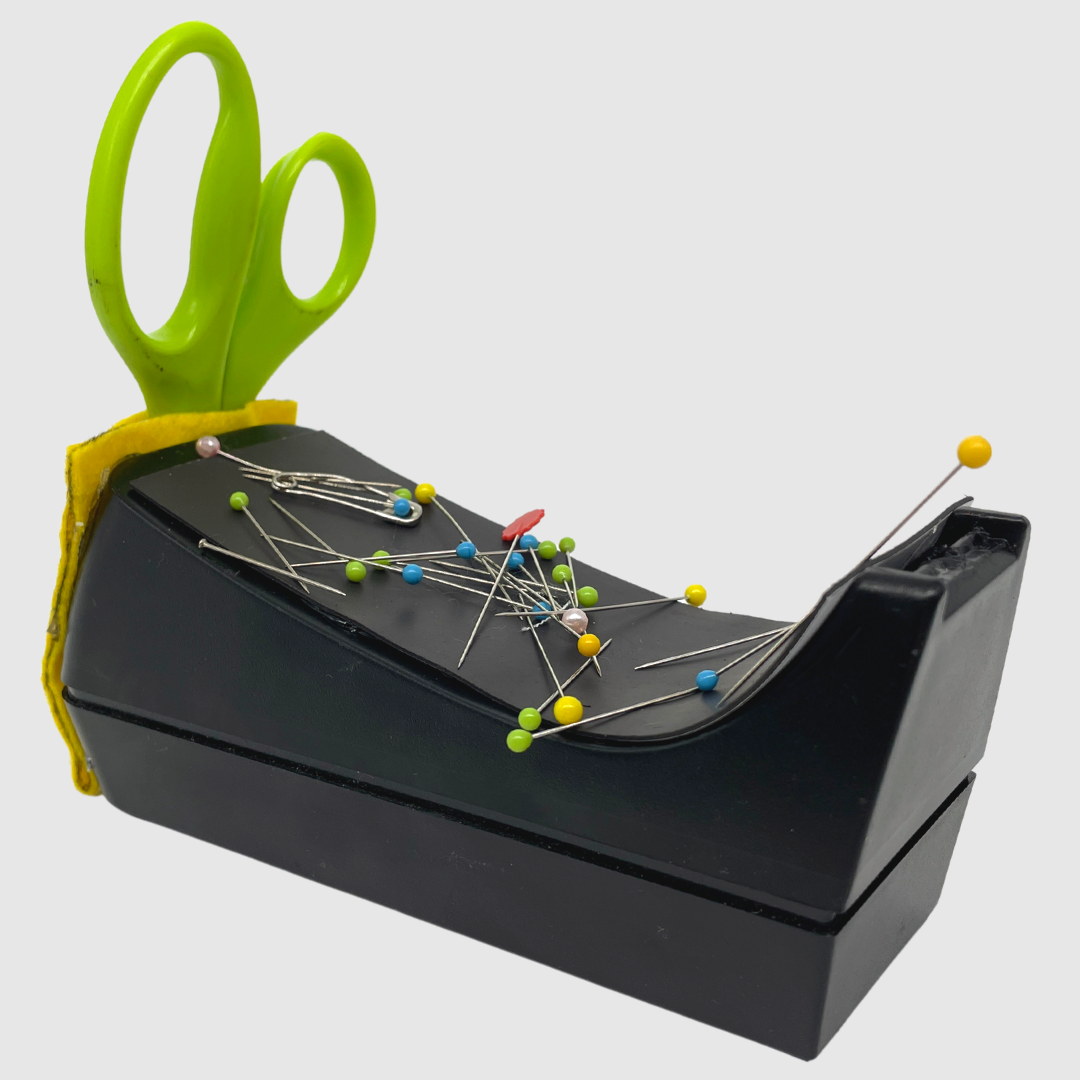
Rather than using a tape dispenser solely for its intended purpose of holding and dispensing tape, we think that this ubiquitous office item could always be much more than that! Follow this tutorial, created by our Program Coordinator, Molly, to repurpose one into a multifunctional sewing buddy that will quickly become your new best friend!
Materials to gather:

(1) tape dispenser
(1) magnetic strip (2" x 5")
(1) felt piece (2" x 6")
metal sewing pins
sharpie
hot glue gun & hot glue
scissors ruler or straight-edge
pliers & safety goggles
Instructions:
1. Remove the tape dispenser's round core and metal teeth. you may need to use pliers to remove the teeth. Wear safety goggles! Tip: you could also find one at ACR already without these components!

2. Lay your magnetic strip on top of the tape dispenser to find the perfect length and cut. My strip was 2" x 5".

3. Use hot glue to stick the magnetic strip to the top of the tape dispenser, magnetic side up. Tip: before gluing, use your pins to check which side of the strip is magnetic!

4. Hold your felt up to where you would like your pocket. Determine the desired width and height of the pocket, and double the height. Cut out. My rectangle was 2" x 6".
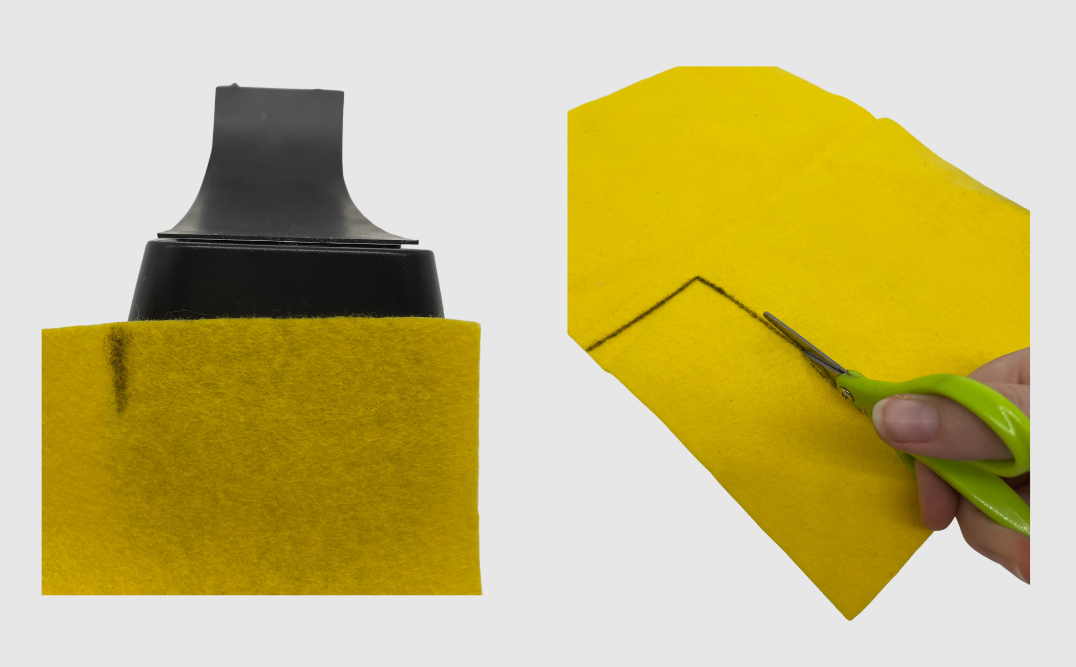
5. Once you've cut out your rectangle, draw a line at the halfway mark where you will be folding the felt to create the pocket.

6. Apply hot glue down the sides, stopping at the halfway point. Fold the felt along the line to create the pocket.

7. Use hot glue to attach your pocket to the tape dispenser. You can create as many pockets as you want using this method! Now it’s time to enjoy your new sewing buddy!

