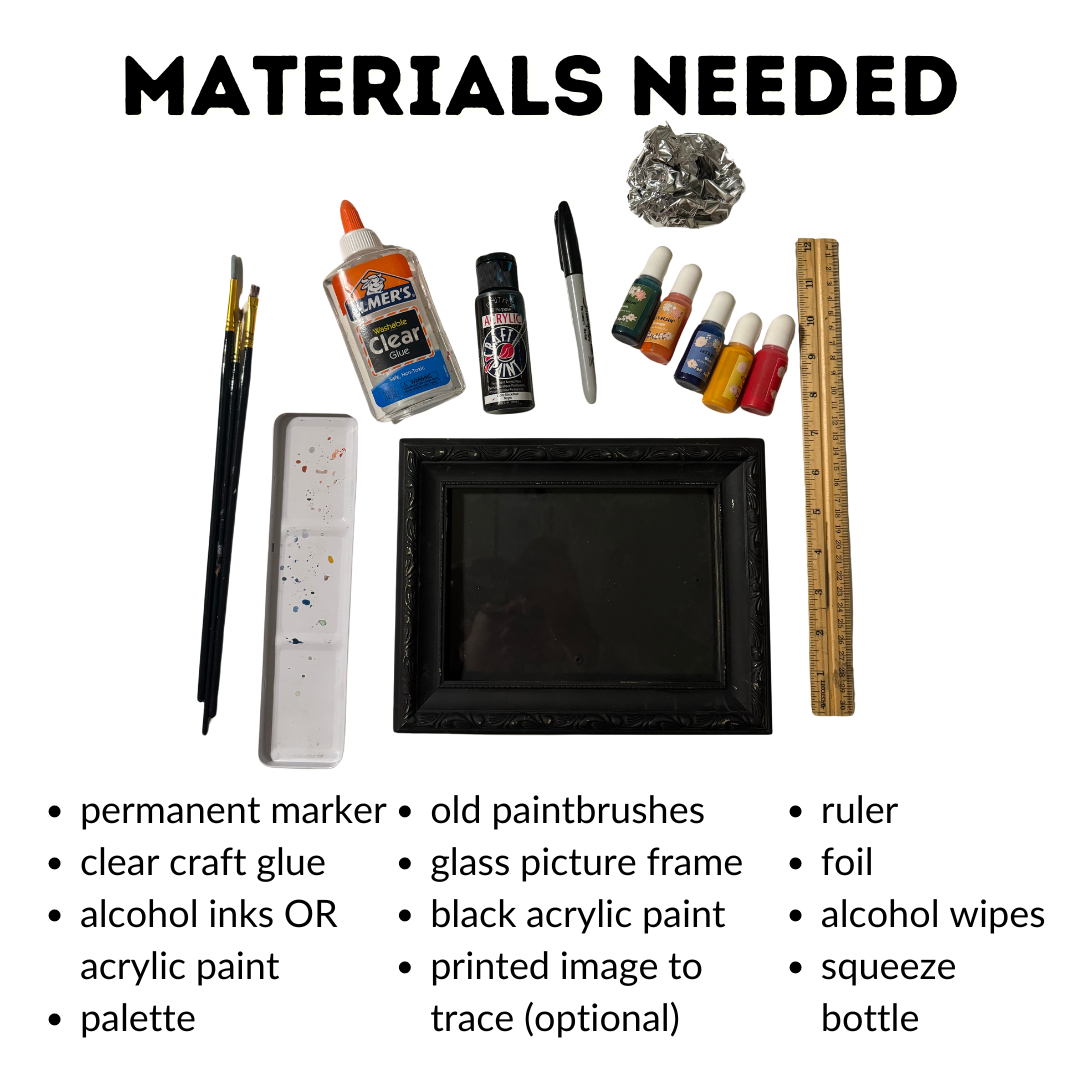
How-To: Make Faux Stained Glass

Looking for a stained glass craft that’s safe for all ages? Search no more! Check out this faux stained glass tutorial and make your own fabulously framed faux stained glass art piece!
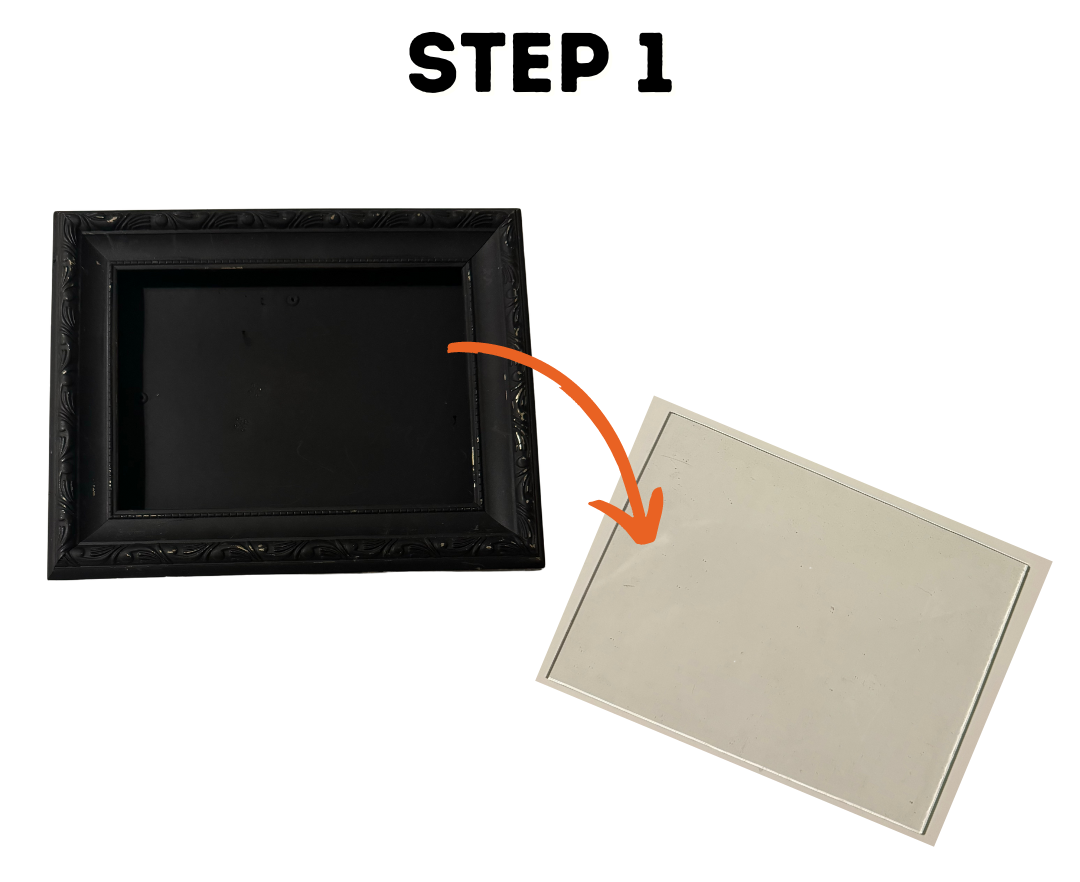
Remove the glass from the frame and set frame aside.

Draw (or trace if you have an image) your design of choice on the glass with the permanent marker. Using the ruler, make intersecting lines in the background to mimic stained glass pieces.

Flip over your glass. On your palette, mix a small amount of clear glue with alcohol ink or acrylic paint. You may have to play around with the consistency as you paint.

Start painting each stained glass section. The glue will help with transparency, and it may look strange to you at first. Trust the process! Allow paint to fully dry.

Mix some black acrylic paint with glue in a small squeeze bottle. Trace your design with this mixture on the front side of the glass. Allow to dry.

Put glass back into frame and add crumpled foil behind it before closing it up with the frame backing. Fold over or cut off any excess foil sticking out.

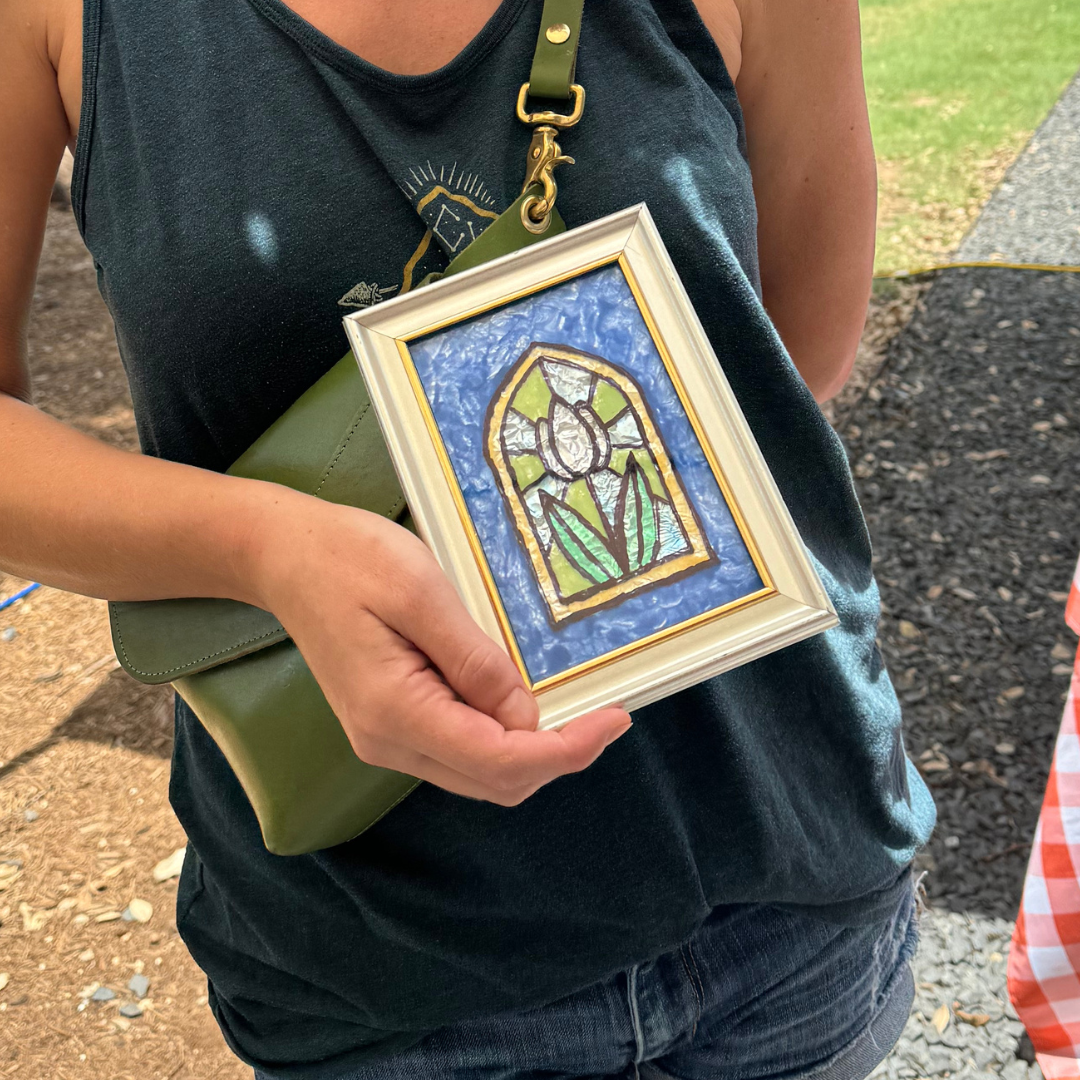
Display your gorgeous design anywhere you’d like and show your reuse art off to your friends and family! Check out another example below made at one of our community events!
Inspired? We’d love to see what you make! Tag us on socials @austincreativereuse or email us your creation!